Enabling Epson ES Agent for ECSP
Enable Epson ES Agent for ECSP using the device’s Web Config.
Check the following before starting the setting.
-
The time and time difference settings are correct
If the device time and time difference settings are incorrect, you cannot register the device to Epson Cloud Solution PORT.
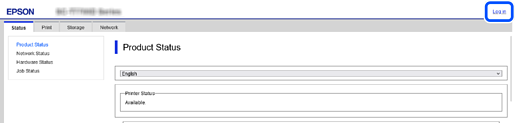
You can check the device time and time difference settings from Status tab > Product Status > Date and Time in Web Config.
-
The device can communicate via the Internet
When Epson ES Agent for ECSP is enabled, the device communicates with the Epson server by itself. Set the proxy server settings and DNS settings so that the device can communicate via the Internet.
For device time settings and communication settings via the Internet, ask the device administrator or network administrator.
-
Enter the IP address for the device using a browser on your computer to run Web Config.
The device’s IP address is “192.0.2.100”: https://192.0.2.100
-
Click Log in or Administrator Login, enter the administrator password, and then click OK.
If Log in or Administrator Login is not displayed, proceed to the next step.
-
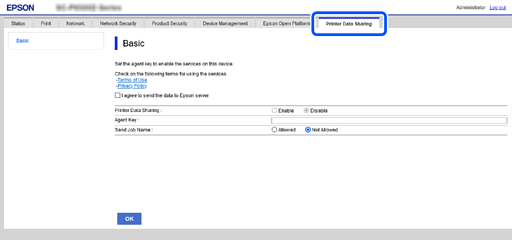
Click the Printer Data Sharing or Device Data Sharing tab.
-
Click the Terms of Service and Privacy Policy to check the details on each of these items, and then select Send Printer Data to Epson Cloud Solution PORT server..
-
Select Enable in Printer Data Sharing or Device Data Sharing.
If there is a Send Job Name item, select Allowed to include the job name in the submitted data.
If there is no item, the job name is included in the submitted data.
-
Paste the agent key that you copied in Epson Cloud Solution PORT into Agent Key.
-
Click OK.
The device communicates with the Epson server.
This completes the procedure.