
Printing Allocated Print Jobs Individually
You can print each print job allocated to the printer individually.
You can also batch print all of the print jobs allocated to the printer. See the following for the procedure to batch print the allocated print jobs.

-
Log in to Epson Cloud Solution PORT, and then select Production Flow on the Home screen.
-
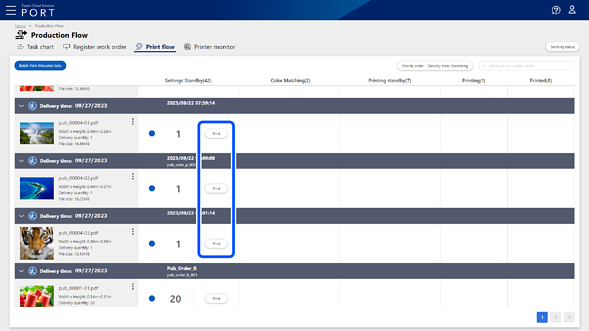
Click Print Queue to display the Print Queue screen.
-
Click Print on the line of the print file you want to print.
Note:To display the print file information on the Print Queue screen, the task on the Work Order Management screen must have advanced to Awaiting Settings.
-
Select the printer you want to use for printing, and then select the Epson Edge Print connected to the printer from the RIP.
The quantity is the number of copies you set when you uploaded the print job from Epson Edge Print.

-
Click Print.
The Check printed content screen is displayed.
-
Check the displayed content, and then click Print.
The destination printer is instructed to start printing.
The Printing standby column displays the number of copies you have set and the status of the tasks. See the following for details about the status displayed in the Printing standby column.
-
You can check the progress of the entire process for each print file on the Work Order Management screen.
-
You can check the information for each printer on the Printer monitor screen.